How Can We Help?
-
cPanel
-
- Mailing Lists
- Default Address
- Autoresponders
- Forwarders
- Email Accounts
- Spam Filters
- Track Delivery
- Global Email Filters
- Email Filters
- Address Importer
- Encryption
- Email Disk Usage
- Calendar Delegation
- BoxTrapper
- Configure Greylisting
- Email Routing
- Filter Incoming Emails by Domain
- Email Deliverability
- Authentication (SPF and DKIM)
- Show Remaining Articles (4) Collapse Articles
-
-
WHM
-
- SSH Password Authorization Tweak
- Apache mod_userdir Tweak
- SMTP Restrictions
- Compiler Access
- Configure Security Policies
- Password Strength Configuration
- cPHulk Brute Force Protection
- Security Questions
- Manage External Authentications
- Two-Factor Authentication
- ModSecurity™ Vendors
- ModSecurity Configuration
- Manage root’s SSH Keys
- Manage Wheel Group Users
- Host Access Control
-
- Terminate Accounts
- Quota Modification
- Modify an Account
- Change Site’s IP Address
- Create a New Account
- Manage Account Suspension
- Upgrade/Downgrade an Account
- Limit Bandwidth Usage
- Force Password Change
- Email All Users
- Reset Account Bandwidth Limit
- Password Modification
- Skeleton Directory
- Rearrange an Account
- Raw Apache Log Download
- Modify/Upgrade Multiple Accounts
- Web Template Editor
- Unsuspend Bandwidth Exceeders
- Show Remaining Articles (3) Collapse Articles
-
- Articles coming soon
-
- Articles coming soon
< All Topics
Print
WP Toolkit
Posted
- Log in to your cPanel>>domain section >>WP Toolkit
- Open WordPress Toolkit:
- If you are using the Jupiter theme, on the Tools page, in the Domains section, click WordPress Toolkit:

- If you are using the Paper Lantern theme, in the DOMAINS section of the cPanel home page, click WordPress Toolkit:
- If you are using the Jupiter theme, on the Tools page, in the Domains section, click WordPress Toolkit:
- The WordPress Toolkit page appears. Under Installations, click Install:
- Under Choose installation options, customize your site:
- Under General, in the Installation path text box, you can optionally specify a directory in which to install WordPress.


If you want your domain name (for example, https://www.example.com) to go directly to WordPress, make sure the Installation path text box is blank.
- In the Website titletext box, specify the title of your site.
- In the Plugin/theme setlist box, you can optionally select a package of plugins and themes to install.
- In the Website languagelist box, select the language for the site.
- In the Versionlist box, select the WordPress version you want to install.
Unless you have a specific reason for not doing so, you should install the current version.
- Under WordPress Administrator, in the Username text box, type the username you want to use to log in to the site.
- In the Password text box, type the password you want to use for the username to log in to the site. Click the eye icon to view the password.
Make sure that you use a strong password! Alternatively, you can click Generate, and cPanel generates a strong, random password for you.
- In the Email text box, type a valid e-mail address. This address is used to receive update notifications and other news.
- Under Database, you can optionally change the database settings.
The database options are for advanced users. You do not need to change any of them unless you have a specific reason for doing so.
- Under Automatic Update Settings, you can optionally change the settings for WordPress, plugin, and theme updates.
You do not need to change any of these settings unless you have a specific reason for doing so.
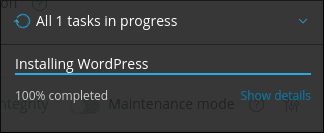
- Click Install. cPanel begins the installation and provides a progress indicator:
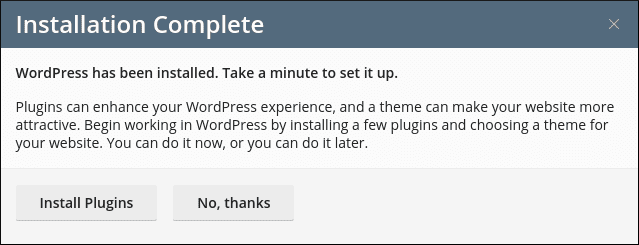
- After installation is complete, you can optionally install plugins:
- Now that WordPress is installed, you can use the WordPress Toolkit to help manage your site. For information about how to do this, please see this article.