
-
cPanel
-
- Mailing Lists
- Default Address
- Autoresponders
- Forwarders
- Email Accounts
- Spam Filters
- Track Delivery
- Global Email Filters
- Email Filters
- Address Importer
- Encryption
- Email Disk Usage
- Calendar Delegation
- BoxTrapper
- Configure Greylisting
- Email Routing
- Filter Incoming Emails by Domain
- Email Deliverability
- Authentication (SPF and DKIM)
- Show Remaining Articles (4) Collapse Articles
-
-
WHM
-
- SSH Password Authorization Tweak
- Apache mod_userdir Tweak
- SMTP Restrictions
- Compiler Access
- Configure Security Policies
- Password Strength Configuration
- cPHulk Brute Force Protection
- Security Questions
- Manage External Authentications
- Two-Factor Authentication
- ModSecurity™ Vendors
- ModSecurity Configuration
- Manage root’s SSH Keys
- Manage Wheel Group Users
- Host Access Control
-
- Terminate Accounts
- Quota Modification
- Modify an Account
- Change Site’s IP Address
- Create a New Account
- Manage Account Suspension
- Upgrade/Downgrade an Account
- Limit Bandwidth Usage
- Force Password Change
- Email All Users
- Reset Account Bandwidth Limit
- Password Modification
- Skeleton Directory
- Rearrange an Account
- Raw Apache Log Download
- Modify/Upgrade Multiple Accounts
- Web Template Editor
- Unsuspend Bandwidth Exceeders
- Show Remaining Articles (3) Collapse Articles
-
- Articles coming soon
-
- Articles coming soon
Add a DNS Zone
log in to your WHM>>DNS functions>>add a DNS Zone
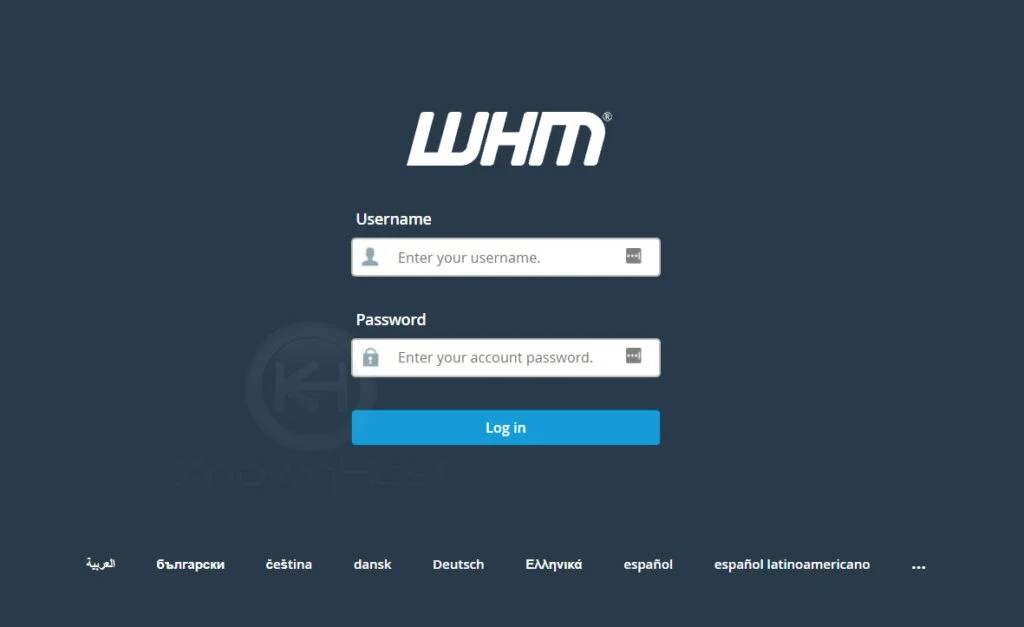
1. First, login into WHM panel,
https://your-domain.com:2087 or https://IP-address: 2087 or https://server-hostname: 2087.
2. Navigate to DNS Functions → DNS Zone Manager.

3. On the DNS Zone Manager interface, you will have a list of hosted domain names to manage their DNS records. Also, you will have shortcuts to add specific records (A, CNAME, MX, DNSSEC.
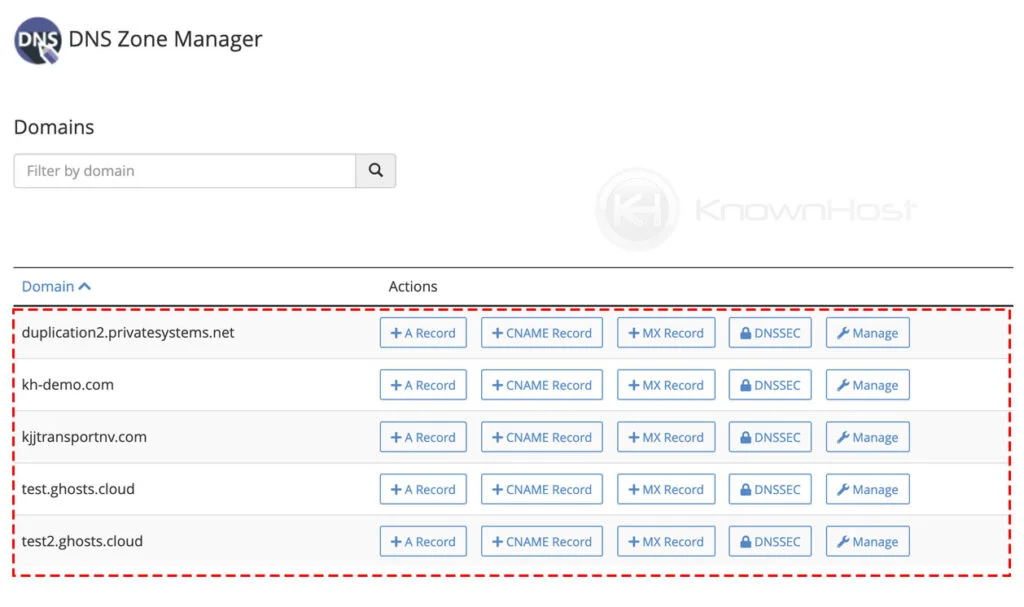
4. To manage the specific domain’s DNS records → Click on Manage.

Edit Existing DNS Records

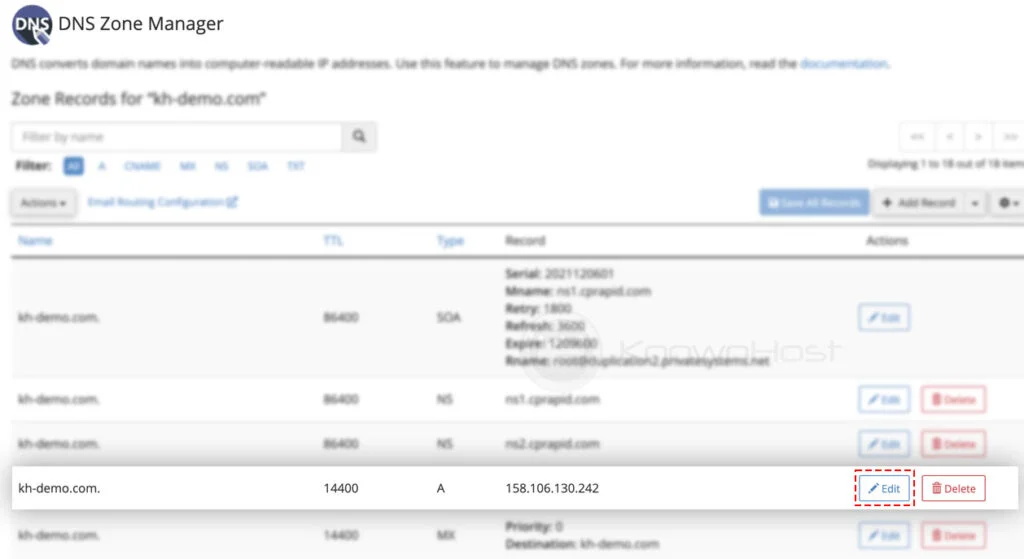
1. Navigate to WHM → DNS Zone Manager → Click on Manage.
 2. To edit available DNS records, navigate to a particular DNS record → Click on Edit.
3. Perform required changes → Click on Save Record.
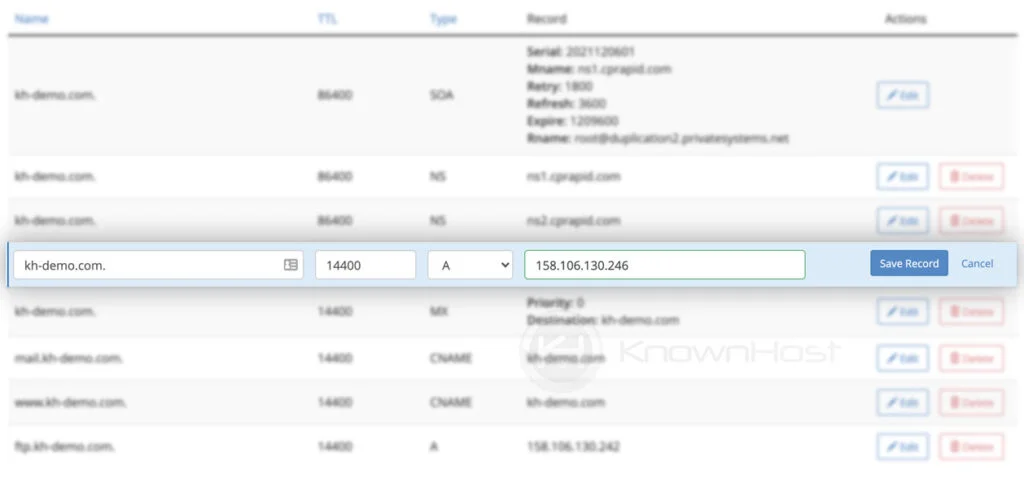
Congratulations! You have successfully edited the existing DNS record for the selected domain.
Add New DNS Record
1. Navigate to WHM → DNS Zone Manager → Click on Manage.

2. At top right–corner, click on “+ Add Record“.
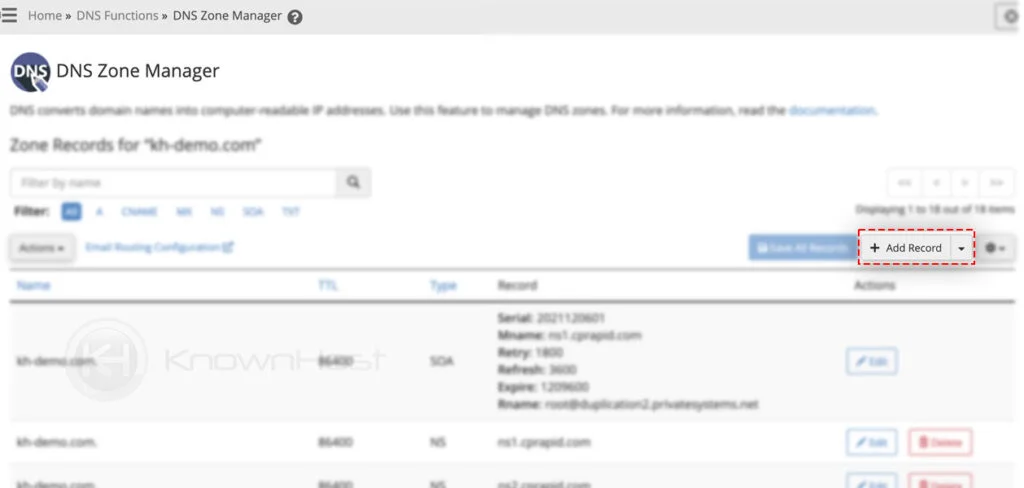
3. Now, select the Record Type → Enter the record values → Click on Save Record.

select record type enter the required details click on save record
Congratulations! You have successfully added the new DNS record for the selected domain.
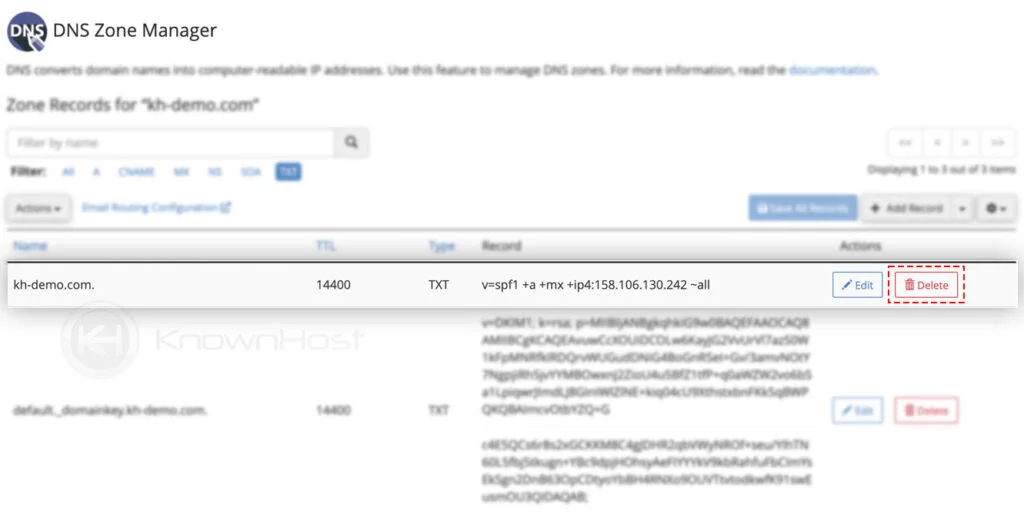
Delete DNS Record
1. Navigate to WHM → DNS Zone Manager → Click on Manage.

2. Next, navigate to specific DNS record → Click on Delete.
 3. Confirmation screen will popup → Click on Continue.
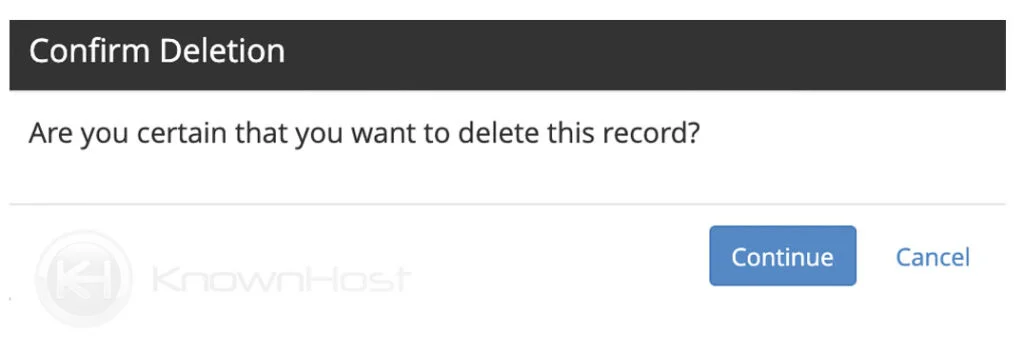 Congratulations! You have successfully deleted the DNS record.