
Reseller Center
Log in to your whm>> Reseller >> Reseller Center
1) Find the Reseller section of the menu.

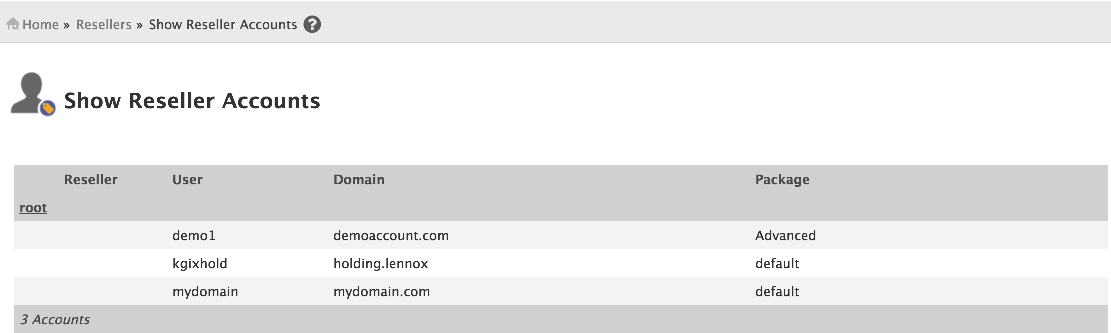
2) Let’s start with Show Reseller Accounts. 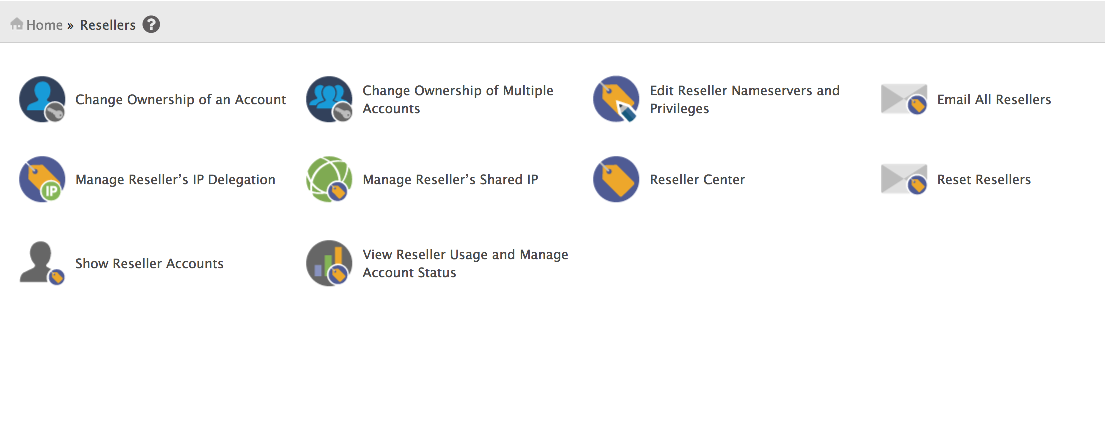
Here, you can view a list of all the accounts on the system, grouped up by owner. By default, all accounts are owned by the root user.
3) Now, let’s go to the Reseller Center.
The tools in the first block of this page allow you to add reseller privileges t o a standard account, or remove them from an existing reseller.
The final two blocks of tools allow you to perform various actions on the resellers and the accounts they own.
Before you perform any actions in the second block, you should make sure the correct reseller account is selected in the drop-down menu below.
You can change the ownership of one or many accounts using these two links, email all resellers with the above link, and reset reseller privileges with this link. More on privileges in a moment.

These two tools, below, allow you to select which IPs are available to this reseller and which IP should be used as their main shared IP.
Now, let’s take a closer look at the two links here that we haven’t pointed out yet.
4) Go to Edit Privileges / Nameservers.
5) For a better view of this page, we’ll open this frame in its own tab in our browser.
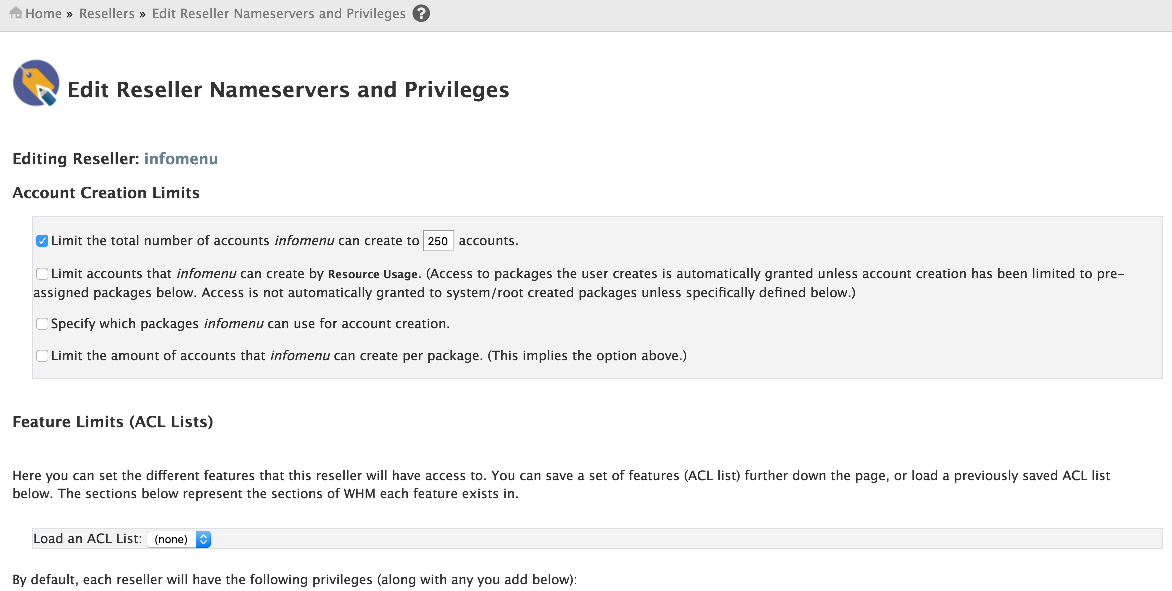
This page gives you fine-tuned control over the kind of access the account will have in WHM. It’s split up into three main sections: Account Creation Limits, Feature Limits (or Access Control Lists), and Nameservers.

6) Tick this checkbox to limit the total number of accounts this reseller can create.
7) Then, specify that number.
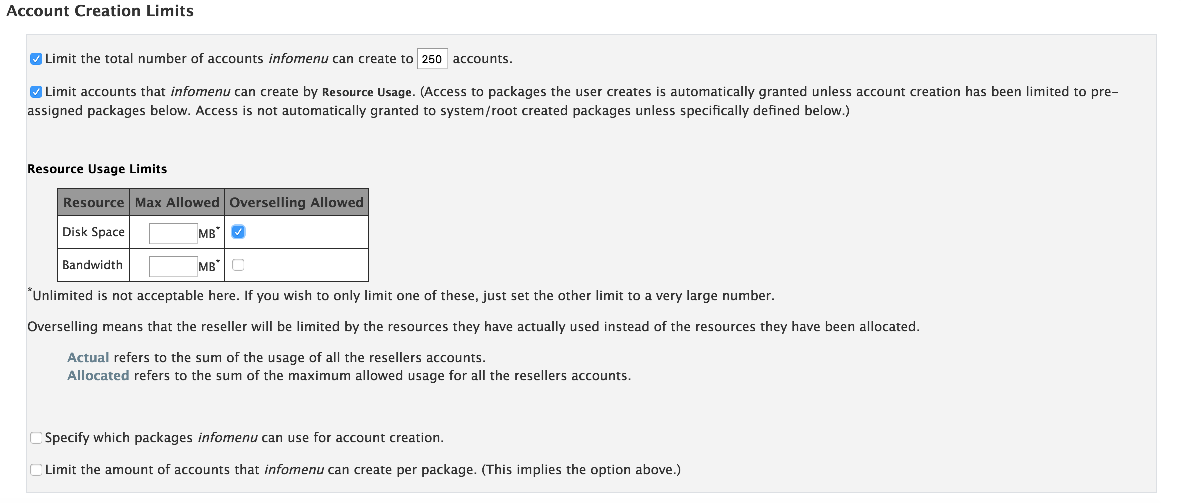
8) Next is an option that allows you to limit the resources the accounts a reseller owns can use.
9) With this enabled, you must specify both disk space and bandwidth, in megabytes. Note that unlimited is not an option here.
Overselling Allowed permits a reseller to assign more resources to accounts than the maximum allowed values here.
With overselling enabled, WHM will determine if a reseller has reached its max allowed values in a different way: It will check the resources actually used by a reseller’s accounts instead of using the max allowed resources for those accounts.
10) Click this checkmark to allow overselling.

You should be warned that resource limits will only work if a reseller assigns accounts a specific package. Be sure not to assign the reseller any Super Privileges below if you want these resource limits to actually work.
11) Next, you can choose to specify which packages the reseller can use for account creation.
12) You may also limit the reseller to creating a specific number of accounts using each package.
13) Click Creation Allowed to allow a reseller to create this package.
14) Then, give a number allowed for each package. You may use unlimited, if you wish.
15) That’s all for the Account Creation Limits. Now, let’s see the Feature Limits (also known as Access Control Lists, or ACLs). Scroll down.
16) You can load a previously-saved ACL from this drop-down menu.
By default, each reseller will have at least the priviliges specified in the list at left.
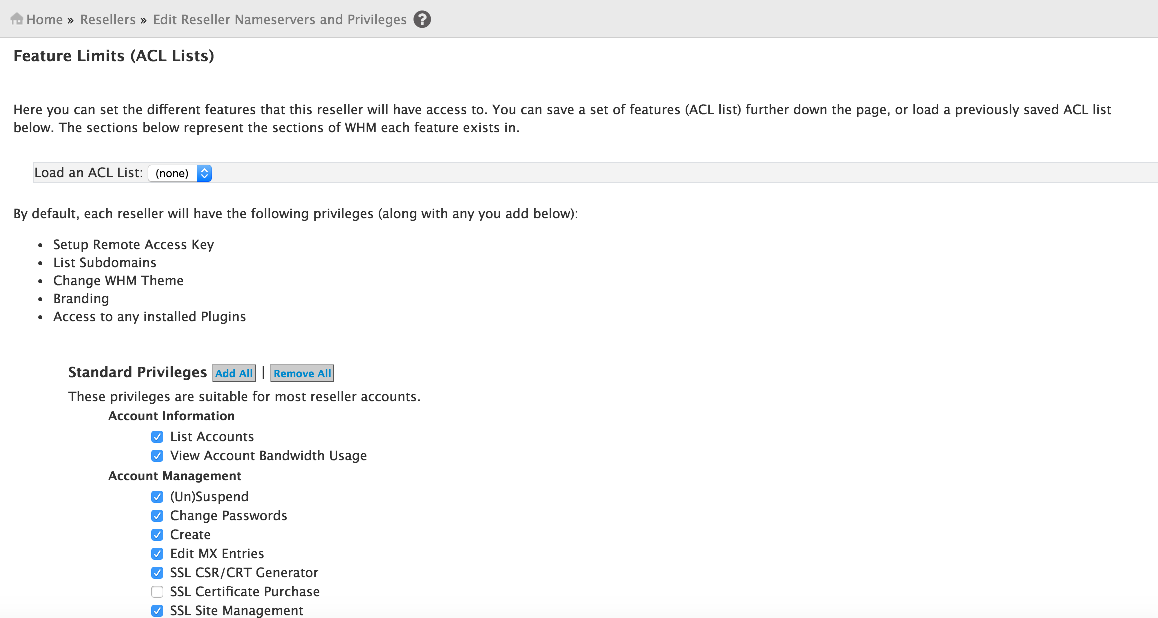
Assign a reseller additional privileges using the various categories of privileges below, at your discretion.
17) Next to each section of privileges are two buttons that allow you to add or remove all privileges in that category.

If you really trust a reseller, you can give them root access, for complete and total access to the server. This is obviously not a privilege to be given lightly.
18) Use the field here to save this ACL for usage in the future, if you want.
19) You can also overwrite an existing list using this drop-down menu.
The last category of settings here allows you to set the default nameservers used when this reseller creates an account.
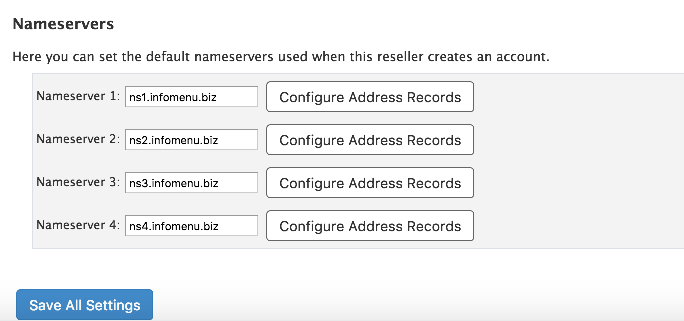
You can assign them their own nameservers, adding an IP address and A entry for each. Or, just let them use the default nameservers. It’s up to you, and your resellers.
20) When finished here, Save All Settings.
The reseller account has been modified successfully.
21) Return to the Reseller Center.

The last tool on this page allows you to suspend, unsuspend, or terminate a reseller and all of its accounts. You can also view statistics for this reseller here.
At the top are the suspension, unsuspension, and termination tools.