
How Can We Help?
cPHulk Brute Force Protection
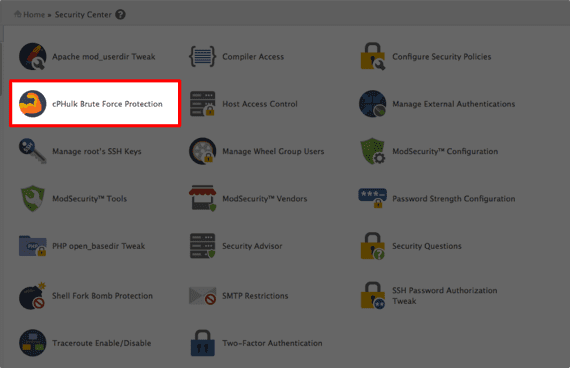
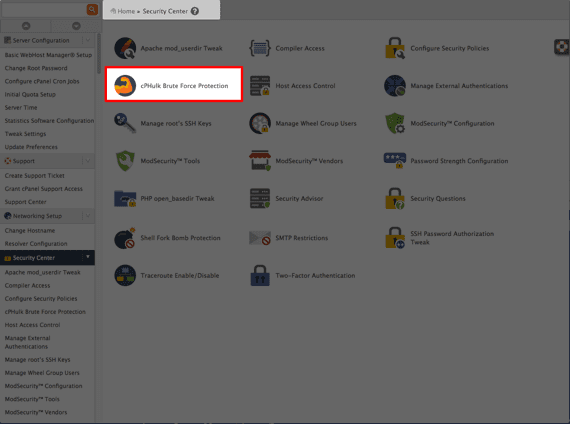
Log in to your whm>>security centre>> cPHulk Brute Force Protection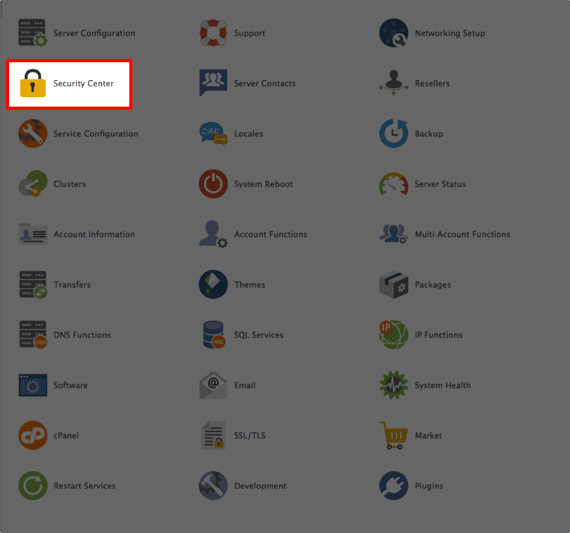
- Click cPHulk Brute Force Protectionfrom the home page of the Security Center.

- If cPHulk is disabled, click the button on the left-hand side of the page to enable it.
- The first tab is the Configuration Settings. Here, you can:
- Track login attempts for user accounts.
- Turn on IP address based protection to track logins from specific IP addresses.
- You can also set the maximum failures per IP address in a single day.
- The Login History section allows you to set the duration for retaining failed logins (in minutes).
- You can set up notifications that will send an email to notify you of logins and brute force users.
- The Whitelist Managementtab allows you to specifically list IP addresses you want to always be allowed to log into your server.
Enter IP Addresses to Whitelist |
| Make sure you enter your IP and any other administrators IP address here at the time of setup to avoid being locked out in the case of an attack. |
You can also permanently blacklist IP addresses using the Blacklist Management
5. The History Reportstab has a drop-down menu that gives you the ability to view:
-
- Failed logins (using the duration you set in the Login History):
- Blocked user attempts:
- Blocked IP attempts:
- One-day blocked IP addresses:
Enable on WHM 64
- Navigate to cPHulk through the Security Centeron the home page of WHM.
- Change cPHulk from disabled to enabled.
- In the Configuration Settingstab, you can:
- Configure Username-based Protectionsby:
- Setting the protection period (in minutes) and set the maximum failures by account.
- Choosing what to apply protection to and enable protection to keep cPHulk from locking the root user.
- Configure Username-based Protectionsby:
Enable and Apply Protection |
| If this box is checked, cPHulk will lock out the root user and you will be unable to access your accounts. |
- With IP Address based Protection:
- You can set an IP address based protection period (in minutes) and maximum failures per IP address.
- You can also set a command to run when an IP address triggers the brute-force protection and block IP addresses at the firewall level.
- With One-day Blocksyou can:
- Set the maximum failures per IP address and select a command to run when the IP triggers the block.
- The Login Historyand Notifications let you set how long you want to retain failed logins (in minutes) and choose the types of notifications you’d like to receive when there is an issue.
- The Whitelist Managementtab allows you to specifically list IP addresses you want to always be allowed to log into your server.
Whitelist IP Addresses |
| Make sure you enter your IP and any other administrators IP address here at the time of setup to avoid being locked out. |
- You can also permanently blacklist IP addresses using the Blacklist Management
- The History Reportstab has a drop-down menu that gives you the ability to view:
- Failed logins (using the duration you set in the Login History):
- Blocked user attempts:
- Blocked IP attempts:
- One-day blocked IP addresses: