
How Can We Help?
-
cPanel
-
- Mailing Lists
- Default Address
- Autoresponders
- Forwarders
- Email Accounts
- Spam Filters
- Track Delivery
- Global Email Filters
- Email Filters
- Address Importer
- Encryption
- Email Disk Usage
- Calendar Delegation
- BoxTrapper
- Configure Greylisting
- Email Routing
- Filter Incoming Emails by Domain
- Email Deliverability
- Authentication (SPF and DKIM)
- Show Remaining Articles (4) Collapse Articles
-
-
WHM
-
- SSH Password Authorization Tweak
- Apache mod_userdir Tweak
- SMTP Restrictions
- Compiler Access
- Configure Security Policies
- Password Strength Configuration
- cPHulk Brute Force Protection
- Security Questions
- Manage External Authentications
- Two-Factor Authentication
- ModSecurity™ Vendors
- ModSecurity Configuration
- Manage root’s SSH Keys
- Manage Wheel Group Users
- Host Access Control
-
- Terminate Accounts
- Quota Modification
- Modify an Account
- Change Site’s IP Address
- Create a New Account
- Manage Account Suspension
- Upgrade/Downgrade an Account
- Limit Bandwidth Usage
- Force Password Change
- Email All Users
- Reset Account Bandwidth Limit
- Password Modification
- Skeleton Directory
- Rearrange an Account
- Raw Apache Log Download
- Modify/Upgrade Multiple Accounts
- Web Template Editor
- Unsuspend Bandwidth Exceeders
- Show Remaining Articles (3) Collapse Articles
-
- Articles coming soon
-
- Articles coming soon
< All Topics
Print
Initial Quota Setup
Posted
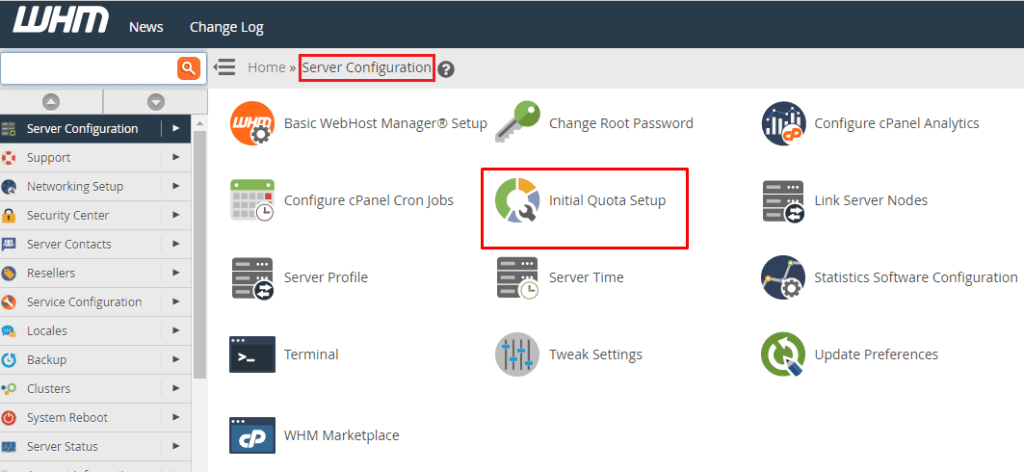
log in to your WHM>>server configeration>>initial quota setup
Login to WHM.

- Navigate to the ‘Initial Quota Setup’ section under ‘Server Configuration’.
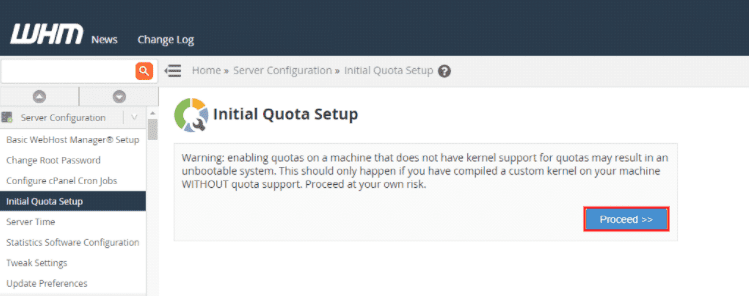
- You will get a warning that says – “Warning: enabling quotas on a machine that does not have kernel support for quotas may result in an unbootable system. This will only happen if you have compiled a custom kernel on your machine WITHOUT quota support. Proceed at your own risk”.
- In case your kernel does not support quotas, then an issue can occur. Since your server might have been set with quota enabled, it should be safe to continue.
- Click on ‘Proceed’ to continue.
- After this step, a screen will be displayed like shown below and a quota scan will be initiated.

- The disk scan process and quota setup will take some time to complete. Once the process is completed, you will see a ‘Done’ message on your screen.
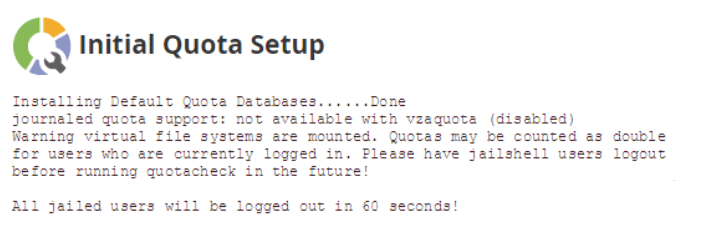
That’s it! Now the disk quota is enabled for you. This will help you in keeping a track of your hard drive and its usage.