-
cPanel
-
- Mailing Lists
- Default Address
- Autoresponders
- Forwarders
- Email Accounts
- Spam Filters
- Track Delivery
- Global Email Filters
- Email Filters
- Address Importer
- Encryption
- Email Disk Usage
- Calendar Delegation
- BoxTrapper
- Configure Greylisting
- Email Routing
- Filter Incoming Emails by Domain
- Email Deliverability
- Authentication (SPF and DKIM)
- Show Remaining Articles (4) Collapse Articles
-
-
WHM
-
- SSH Password Authorization Tweak
- Apache mod_userdir Tweak
- SMTP Restrictions
- Compiler Access
- Configure Security Policies
- Password Strength Configuration
- cPHulk Brute Force Protection
- Security Questions
- Manage External Authentications
- Two-Factor Authentication
- ModSecurity™ Vendors
- ModSecurity Configuration
- Manage root’s SSH Keys
- Manage Wheel Group Users
- Host Access Control
-
- Terminate Accounts
- Quota Modification
- Modify an Account
- Change Site’s IP Address
- Create a New Account
- Manage Account Suspension
- Upgrade/Downgrade an Account
- Limit Bandwidth Usage
- Force Password Change
- Email All Users
- Reset Account Bandwidth Limit
- Password Modification
- Skeleton Directory
- Rearrange an Account
- Raw Apache Log Download
- Modify/Upgrade Multiple Accounts
- Web Template Editor
- Unsuspend Bandwidth Exceeders
- Show Remaining Articles (3) Collapse Articles
-
- Articles coming soon
-
- Articles coming soon
Server Profile
Log in to your whm>> Server Configuration>>Server Profile
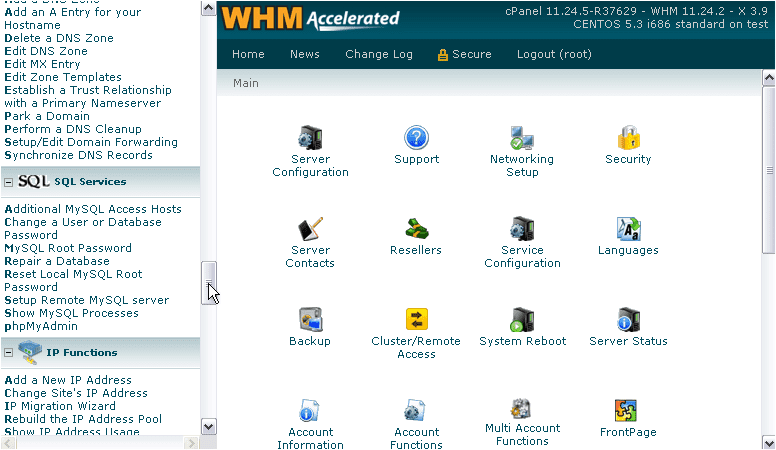
1) Go to the SQL Services menu.
 2) Proceed to Setup Remote MySQL server.
 As you can see, our current MySQL server is localhost.
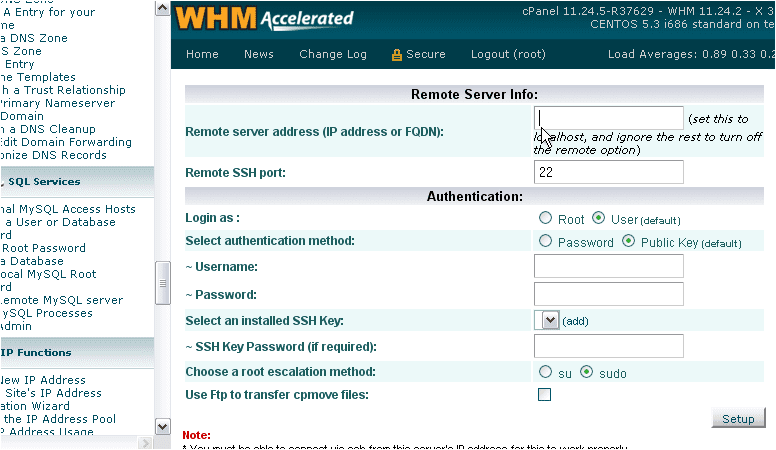
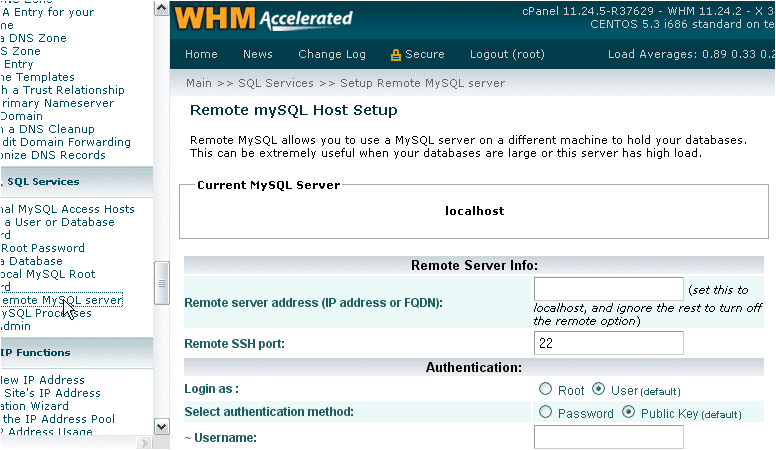 3) Let’s change that. Start with the server’s hostname or IP.
 4) Ensure that the Remote SSH port is correct.
5) Next, we need to fill in the Authentication information. What you need to enter depends on how the server in question is set up.
If your server is set up to block direct root SSH access — which is best, for security purposes – you’ll need to specify the name of an admin user on the system that can switch users to root.
6) Choose the correct authentication method, and fill in a password for the user. If you’ll be using Public Key SSH access, you’ll need to select or add an SSH key and enter its password, if required.
 7) Then, choose the correct root escalation method. If you’ll be using su, you’ll need to also enter the server’s root password.
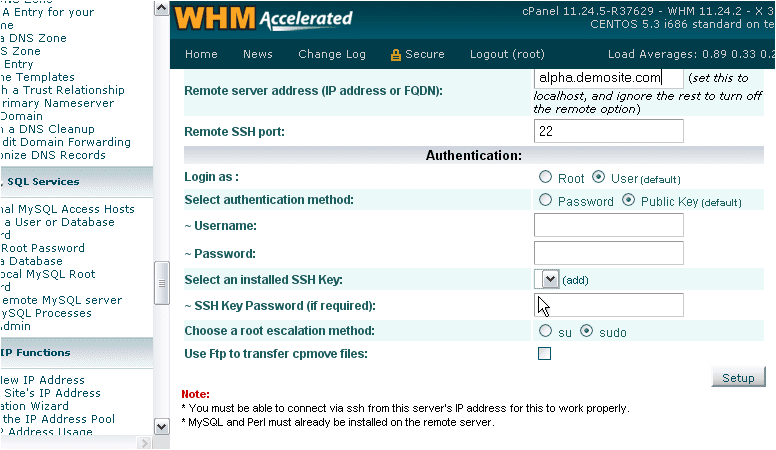
8) If, on the other hand, you’ll be using direct root SSH access, click the button next to Root.
The form will update to reflect the change.
9) We’ll change our authentication method to Password.
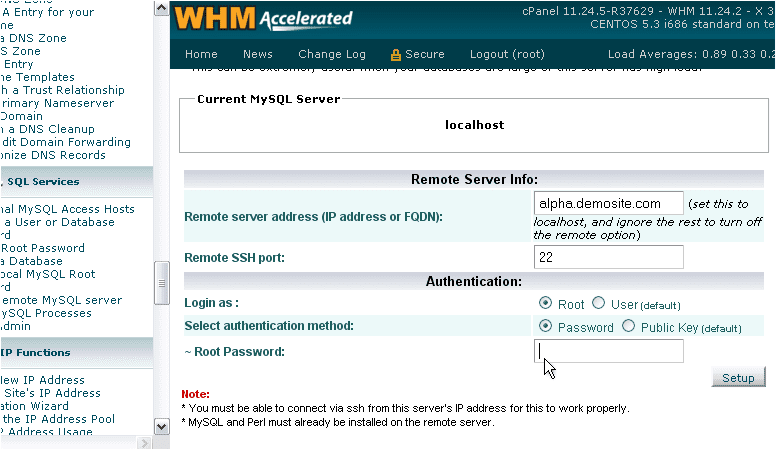 10) Enter the Root Password for the server.
11) When finished here, click Setup.
It may take a minute or two for the Remote MySQL Host to be set up properly.
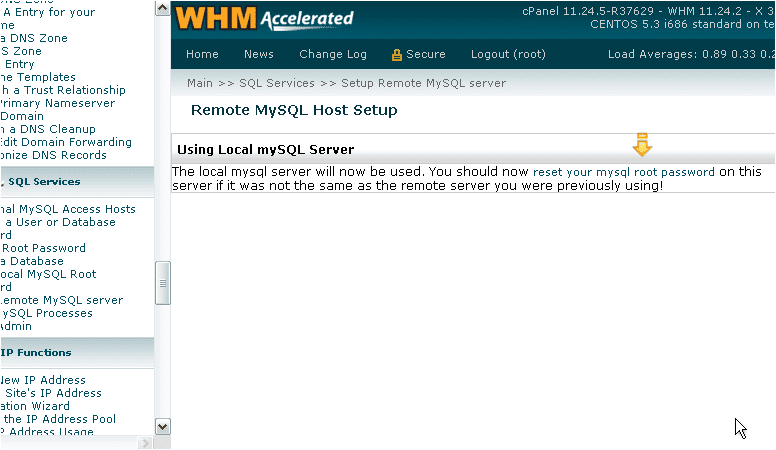
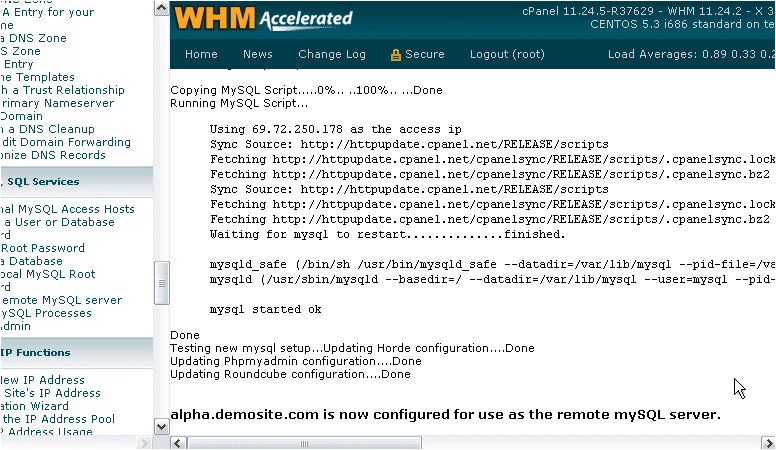
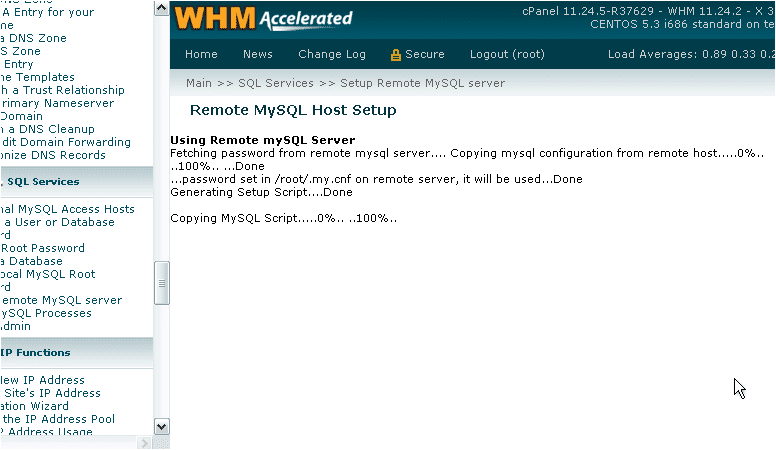 If successful, you’ll see that some configuration files have been updated, followed by the success message shown in bold.
 You may need to reset your MySQL password in WHM in order for the remote server to work. Check the tutorial in this series to see how it’s done.
12) Return to the setup page.
As you can see, our Current MySQL Server has changed to alpha.demosite.com.
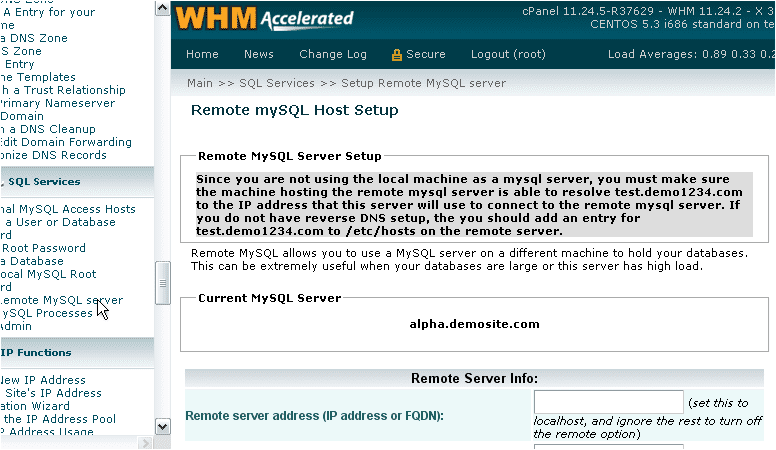 If you intend to keep using Remote MySQL, you’ll need to read the message in the grey background above and ensure that the correct steps are taken, if necessary. That’s beyond the scope of this tutorial, however.
Now, let’s see how to switch our system back to using a local MySQL server.
13) Enter localhost for the server address.
 14) Skip all the rest of the settings and click Setup.
The local MySQL server will now be used again. As before, you may need to reset your password in order for it to work; you can do so using this link, or watch the aforementioned tutorial for details.